Last updated on 10th Jul 2020| 1760
Python is one of the most popular languages in the industry. Developers majorly use Python for application development. To develop applications in Python efficiently, we need certain development environments and tools. These are provided by an IDE. The popular Integrated Development Environment (IDE) for Python is PyCharm. Here, in this PyCharm tutorial, we will comprehensively learn about PyCharm.
PyCharm is a cross-platform IDE that provides consistent experience on the Windows, macOS, and Linux operating systems.
PyCharm is available in three editions: Professional, Community, and Edu. The Community and Edu editions are open-source projects and they are free, but they have less features. PyCharm Edu provides courses and helps you learn programming with Python. The Professional edition is commercial, and provides an outstanding set of tools and features. For details, see the editions comparison matrix.
Advantages and Disadvantages of Using PyCharm
When it comes to Python development, PyCharm is a sure shot. Though it has a range of advantages, it doesn’t mean that the popular Python IDE is flawless. Therefore, before picking it up, ensure that you ultimately benefit from it. Here are the important feats and flaws of PyCharm to consider:
Advantages
- A plethora of productive shortcuts
- Ability to view the entire Python source code with a single click
- Availability of an array of plugins
- Easy-to-use
- Excellent community support
- Facilitates faster code development
- More powerful, commercial version available
- Straightforward installation process
Disadvantages
- Costly paid version
- May pose issues when trying to fixing tools like venv
- Not suitable for Python beginners
- Resource-intensive application, i.e., requires plenty of memory and storage space
Who Uses PyCharm?
PyCharm serves as the go-to Python IDE for several big names, including:
- Amazon
- Lyft
- Meltwater
- Uploadcare
Competitors of PyCharm
PyCharm is, obviously, not the only efficient Python IDE. There are several others. Each one of them is preferred over the rest by virtue of their respective abilities and features. Top competitors of PyCharm are:
- Cloud9 IDE
- Codenvy
- Eclipse + PyDev
- Komodo IDE
- The Jupyter Notebook
- Wind Python IDE
Installing PyCharm
For developing applications in Python using PyCharm, you need to install it in your system.
PyCharm is available in two versions:
- Professional version: It is a full-featured IDE used by professional developers.
- Community version: It is an open-source and free software that is not full-featured. You can use it for learning Python application development.
The Professional version is a paid tool and comes with a free trial. You have to buy a license key for it after your free trial period is over.
The Community version, on the other hand, is open-source without any subscription charge.
In this blog, we will see the installation of the Community version that includes enough features to help us write efficient programs.
Steps to Install PyCharm
Step 1: To download PyCharm, visit the official website of JetBrains: http://www.jetbrains.com/pycharm/
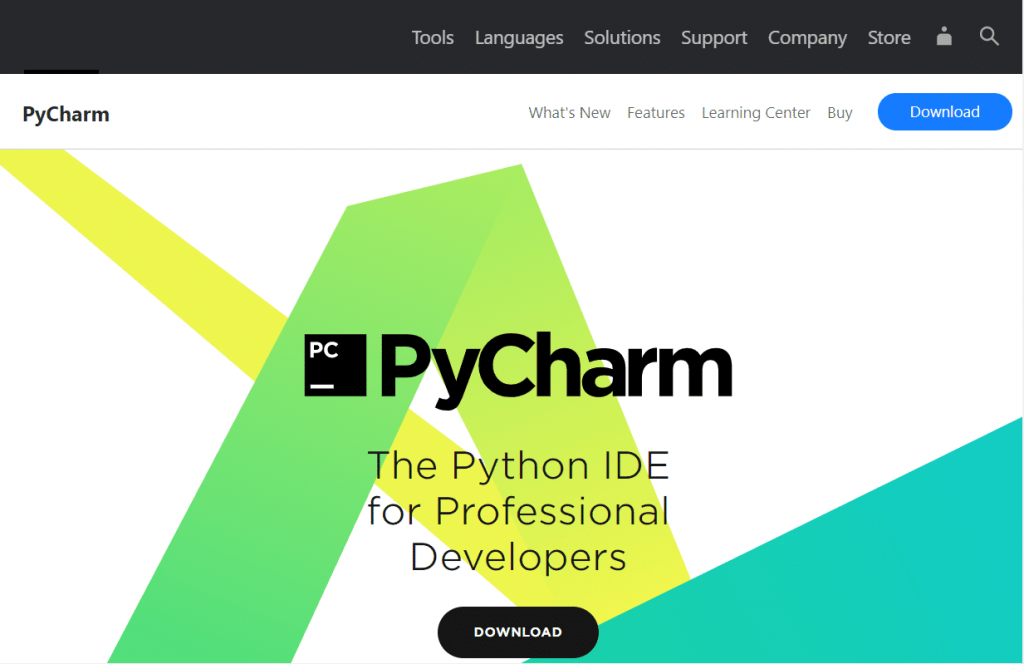
Step 2: Click on the ‘Download’’ button
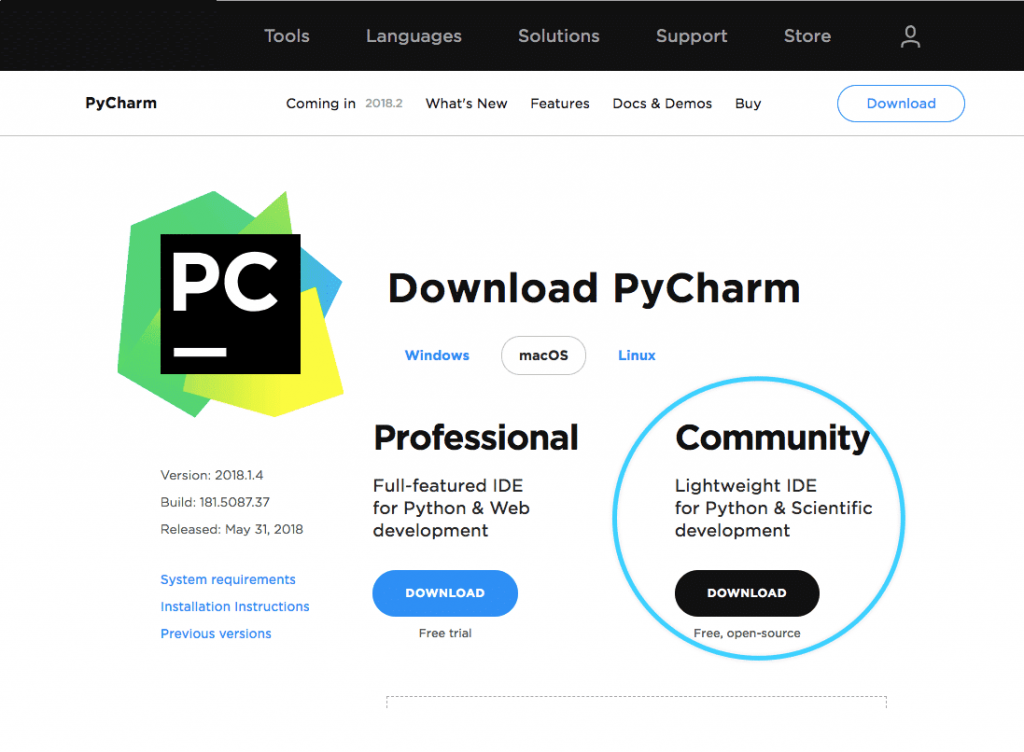
Step 3: After that, you will see the below window with two options, Professional and Community
Step 4: Download the Community version
Step 5: After downloading the file, click on it
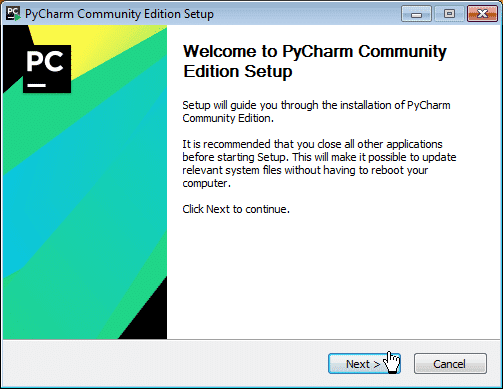
Step 6: When the following window appears, click on Next and the installation process will start
Step 7: After clicking on Next, first, a window for setting up the installation location will appear. Note: You can either select a folder for the installation location or retain the default path.
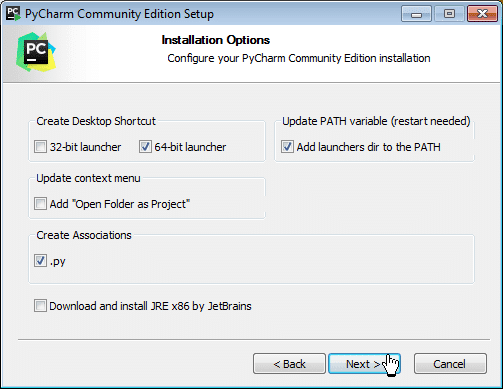
Step 8: In the next step, you can set the Installation Options as per requirements, and then, click on the Next button to proceed
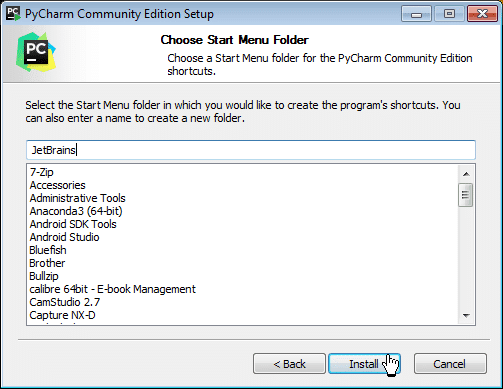
Step 9: Now, you have to select the Start Menu folder, or you can leave it as default
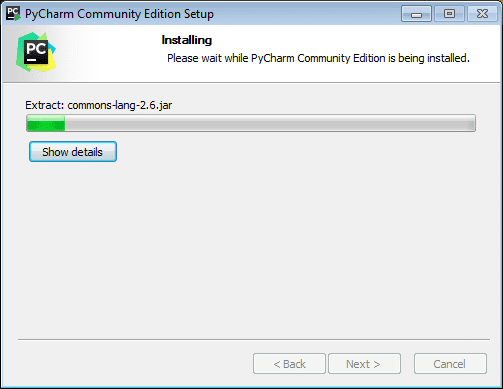
Step 10: After these steps, click on the Install button as above to start the installation process

Step 11: When you click on the Finish button, your PyCharm installation completes
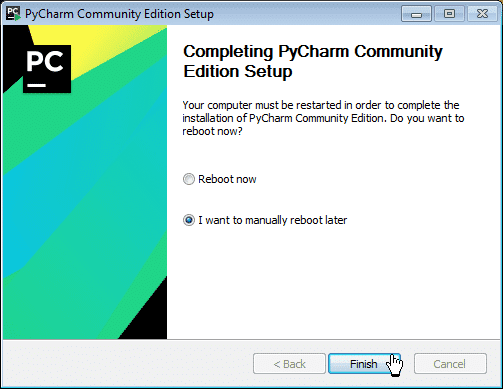
Now, you have successfully installed PyCharm and Python both in your system.
Configuring the Style of Code
To configure PyCharm’s code styles we will follow the below steps:
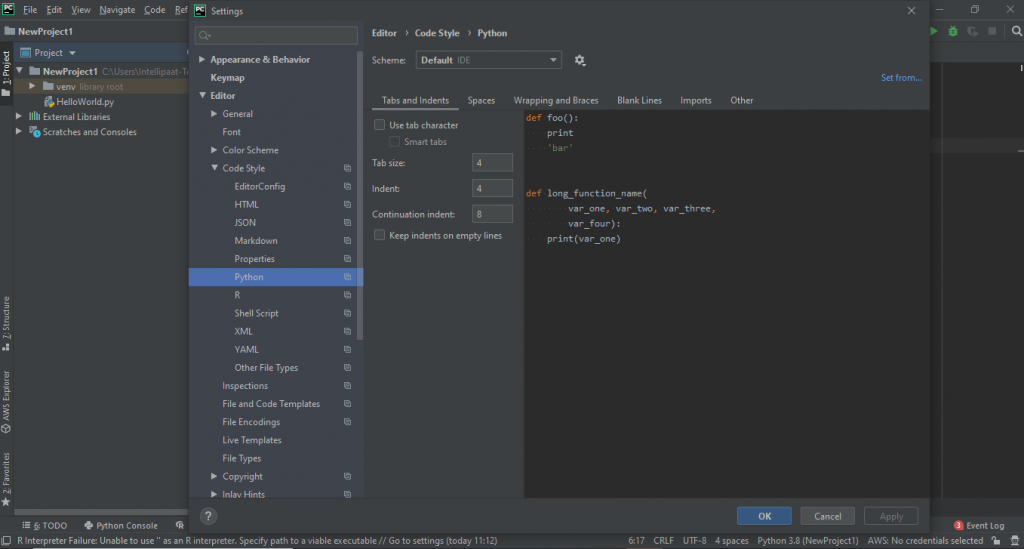
Step 1: From the toolbar, go to File > Settings > Code Style, from where, we can select our preferred language or code style. We can also go to Settings using Ctrl+Alt+S
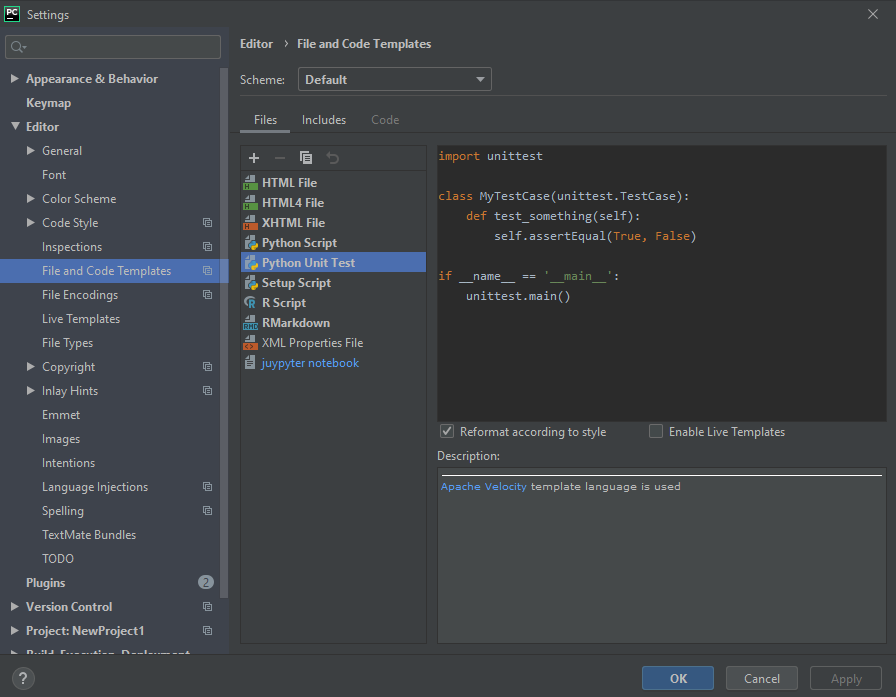
Step 2: Then, we will go to File and Code Templates to see the template of our code

Learn Pycharm Training with Best Practices to Build Your Skills
- Instructor-led Sessions
- Real-life Case Studies
- Assignments
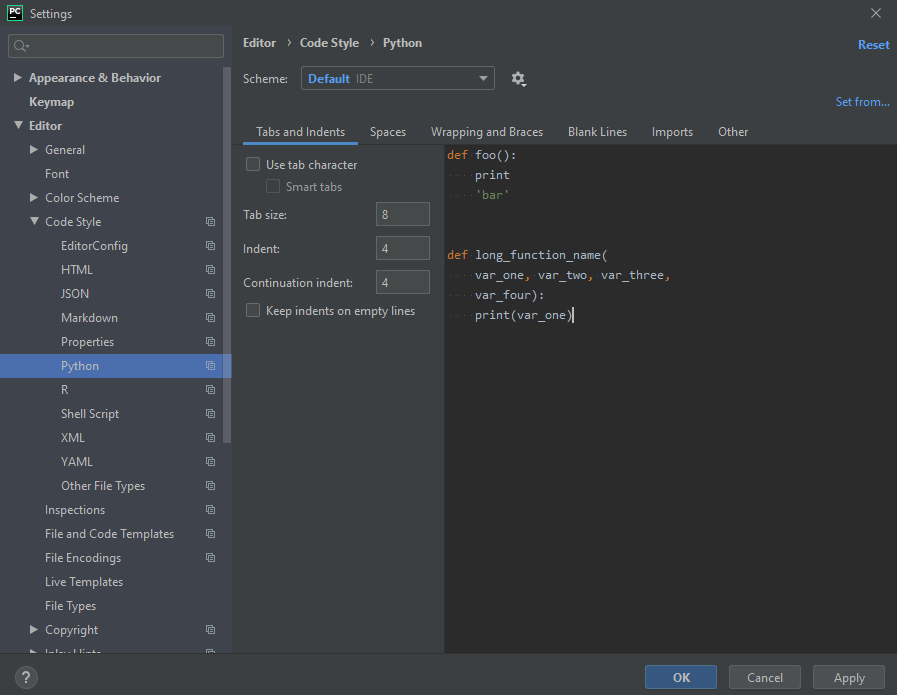
Step 3: Click on Python in the Code Style menu, from where, we can change Tab Size, Indent, Spaces, Blank Lines, and Continuation Indent
Further in this module, let’s discuss about how we can configure the font style and font color of our code.
Configuring Fonts and Colors
We write code for creating applications. The code consists of a lot of text. It contains variables, keywords, classes, and different data types. If all these parameters are represented with different colors, it becomes easy for us to understand the code. PyCharm provides us a feature to customize and configure PyCharm’s font and color.
Steps to select a color scheme:
Step 1: Go to File > Settings (or press Ctrl+Alt+S), and then go to Editor > Color Scheme
Step 2: To configure PyCharm, we can now change our color scheme to Default, Darcula, Github, High contrast, Monokai, Twilight, or WarmNeon from the drop-down list
The Default color scheme is a simple and light theme.
The Darcula color scheme is a dark theme as shown below:
PyCharm also provides a theme for users with vision deficiency, the High Contrast theme.
Step 3: We can select the theme of our choice and click on Apply
Semantic Highlighting
The development of an application requires a lot of functions, methods, and classes. These consist of various logical operations that gives the functionality to the program. It is necessary to have a clear understanding of the program’s functionality. Thus, it becomes important to differentiate between functions, methods, and classes.
For this, PyCharm provides us with a feature of semantic highlighting. It helps us distinguish between classes, functions, variables, and keywords. In this section, we will see how to configure PyCharm for Semantic Highlighting.
Following are the steps for semantic highlighting:
Step 1: Press Ctrl+Alt+S to open Settings
Step 2: Then, go to Editor > Color Scheme > Language Defaults
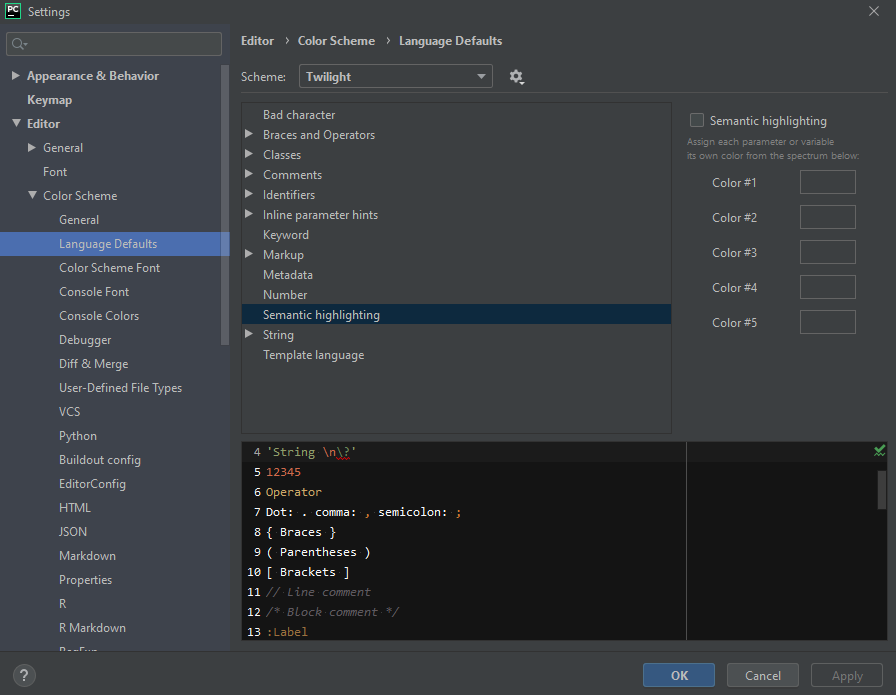
Step 3: Go to Semantic highlighting and tick the checkbox of Semantic highlighting placed on the top-right corner
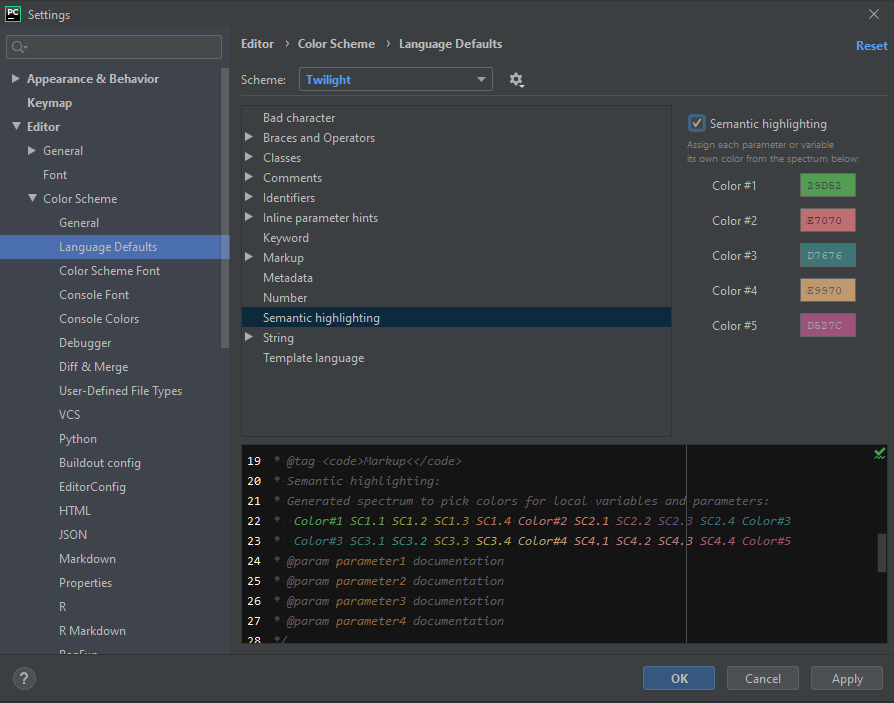
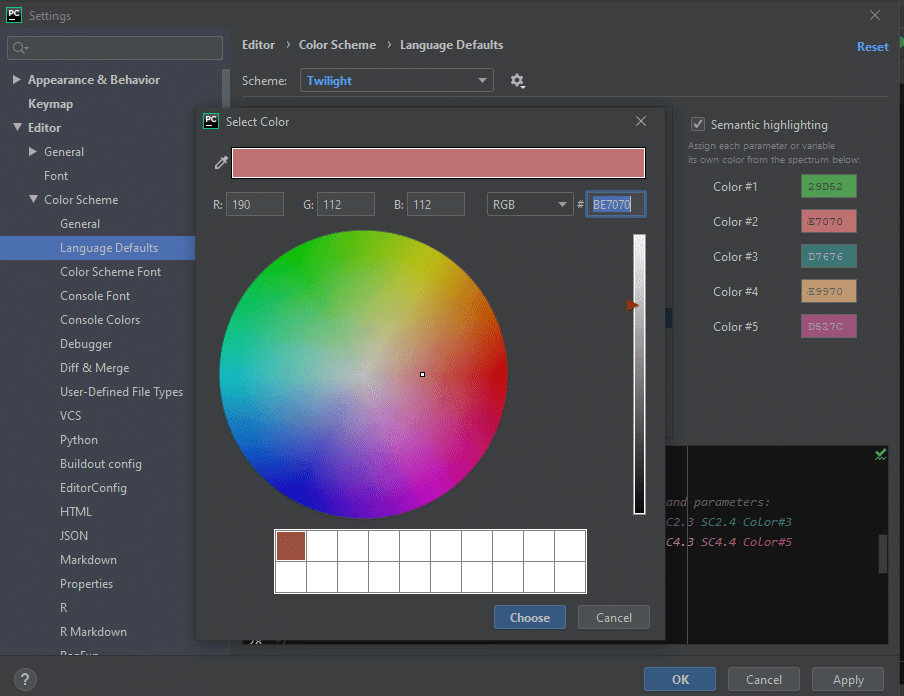
Step 4: Now, we can change the color of semantics by clicking on the color codes
Customizing Keyboard Shortcuts
In this section, we will first look into the predefined keymaps. After that, we will see the configuration of shortcuts for the keyboard and the mouse.
Are you interested in learning Python? Enroll in the Python Course in London now!
Keymap Configuration
We will do the keymap configuration by going to Settings > Keymap. It consists of various predefined keymaps that are automatically selected by PyCharm. However, these predefined keymaps are not customizable.

Get Best Pycharm Course from Experts Trainers to Boost UP Your Skills
Weekday / Weekend BatchesSee Batch Details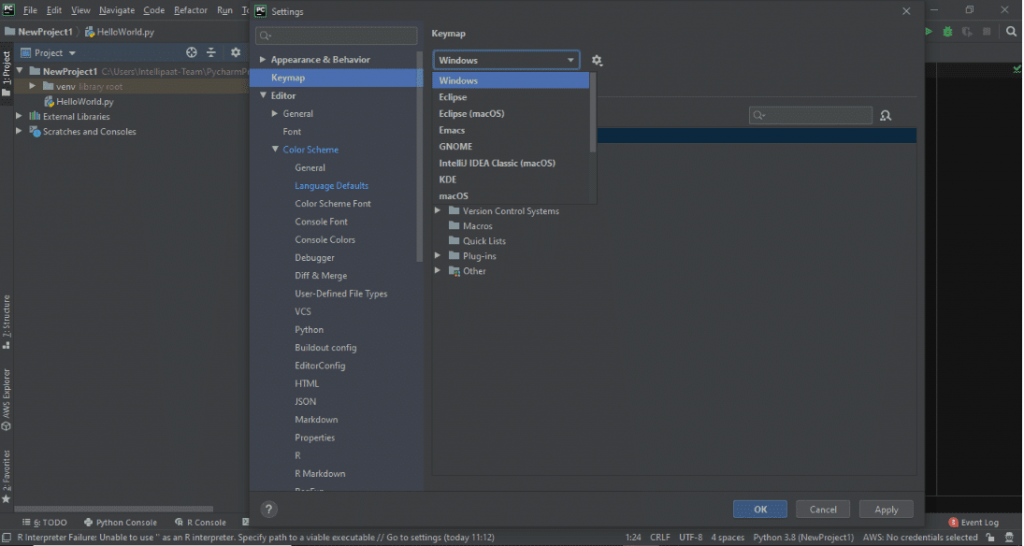
Configuring Keyboard Shortcuts
Step 1: Open Settings and go to Keymap
Step 2: Then, go to Edit Shortcuts and click on Add Keyboard Shortcut

Step 3: Now, enter the key combination in the editor option. We can also use Second stroke for creating a complex shortcut with two-key combinations

Step 4: Click on OK to save the newly created shortcut. Remember, always use mouse pointer while creating a shortcut because using Enter will result into a new key combination with Enter as a component of this newly created shortcut
Configuring Mouse Shortcuts
Step 1: Go to Settings and right-click on Keymap
Step 2: Then, right-click on Edit Shortcuts and click on Add Mouse Shortcut
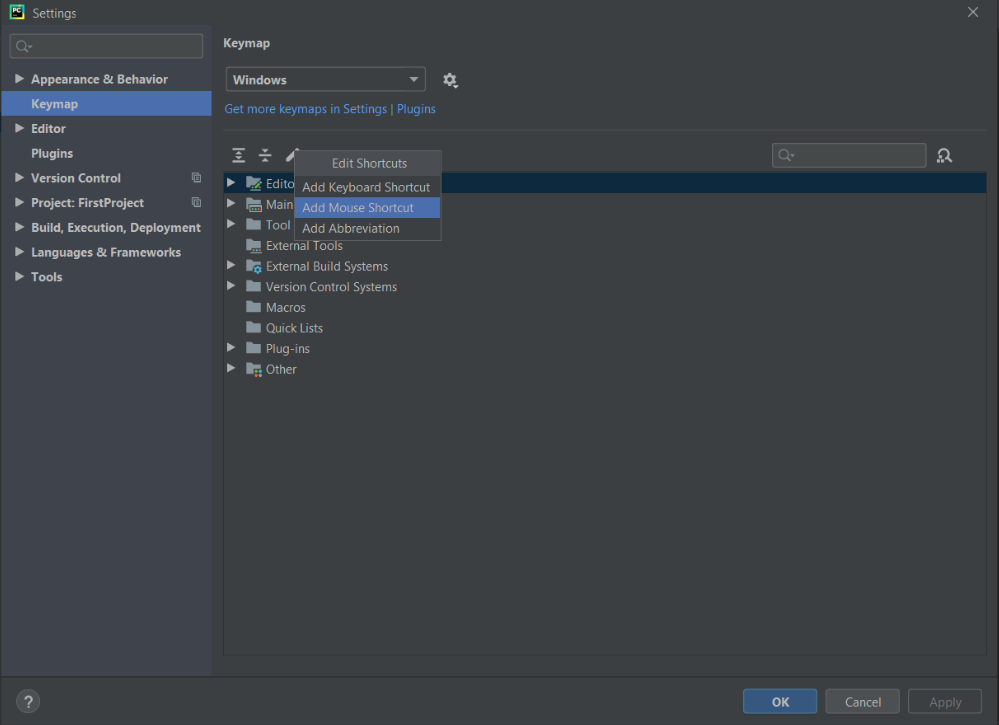
Step 3: When a dialog box appears to add a Mouse Shortcut, take the mouse pointer at the center of the dialog box and add the shortcut
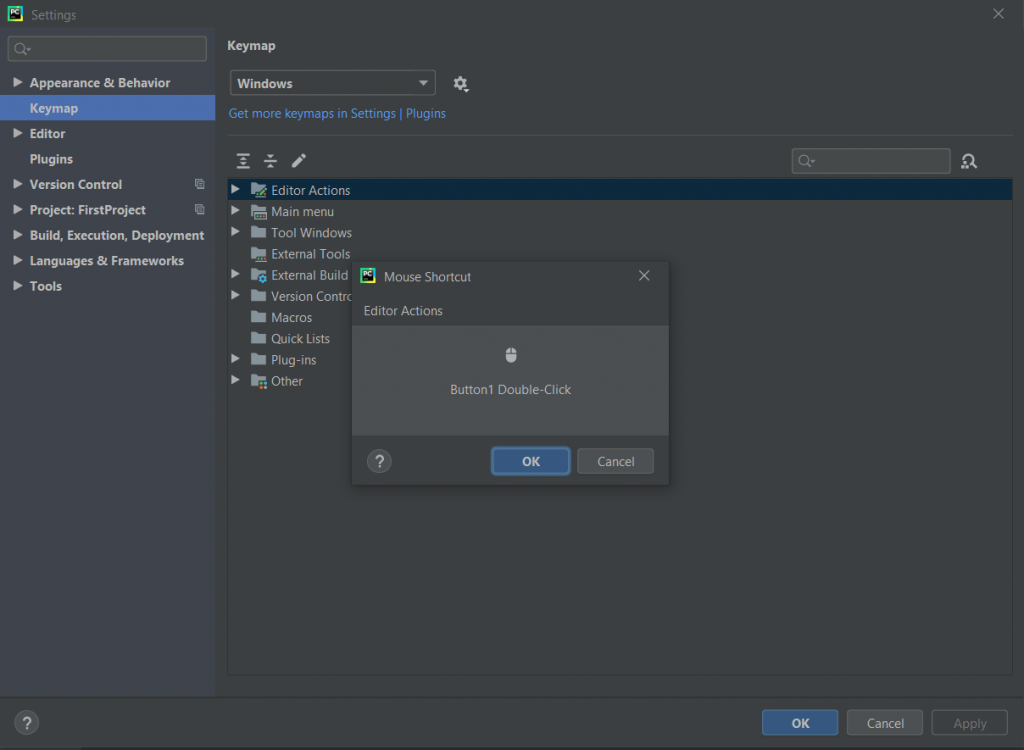
Step 4: Click on OK to save the newly created shortcut
In this module, we have learned how to configure PyCharm. We have also learned adding keyboard and mouse shortcuts and configuring semantic highlighting for the text. In the next module of this PyCharm tutorial, we will learn how to configure PyCharm projects.